Step 1: Include the library in your project
You can add the library using CocoaPods or Swift Package Manager.CocoaPods
To add the Yuno SDK to your iOS project, you need to install the Yuno SDK. If you do not have a Podfile, follow the CocoaPods guide to create one. After creating the Podfile, you will integrate the Yuno SDK with Cocoapods by adding the line below to your Podfile.Swift Package Manager
If you are using the Swift Package Manager, add Yuno SDK as a dependency, as presented in the following code block:Step 2: Initialize SDK with the public key
To start running the Yuno iOS Seamless checkout, you first need to get your Yuno app ID and Public API key. Then, import and initialize Yuno as presented in the following code snippet:YunoConfig. To set up configurations, use the following code block to configure the available elements:
Accessing Your API KeyYou can retrieve your API Key from the Developers section in the Yuno Dashboard.
Create a checkout session
Before starting the payment process, you need to create acheckout_session using the Create checkout session endpoint. This session initializes the payment flow and will be used in the next step.
Control auth vs capture by sending
payment_method.detail.card.capture in the checkout session: false = authorize only, true = capture immediately.Key Parameters
Step 3: Start the checkout and payment process
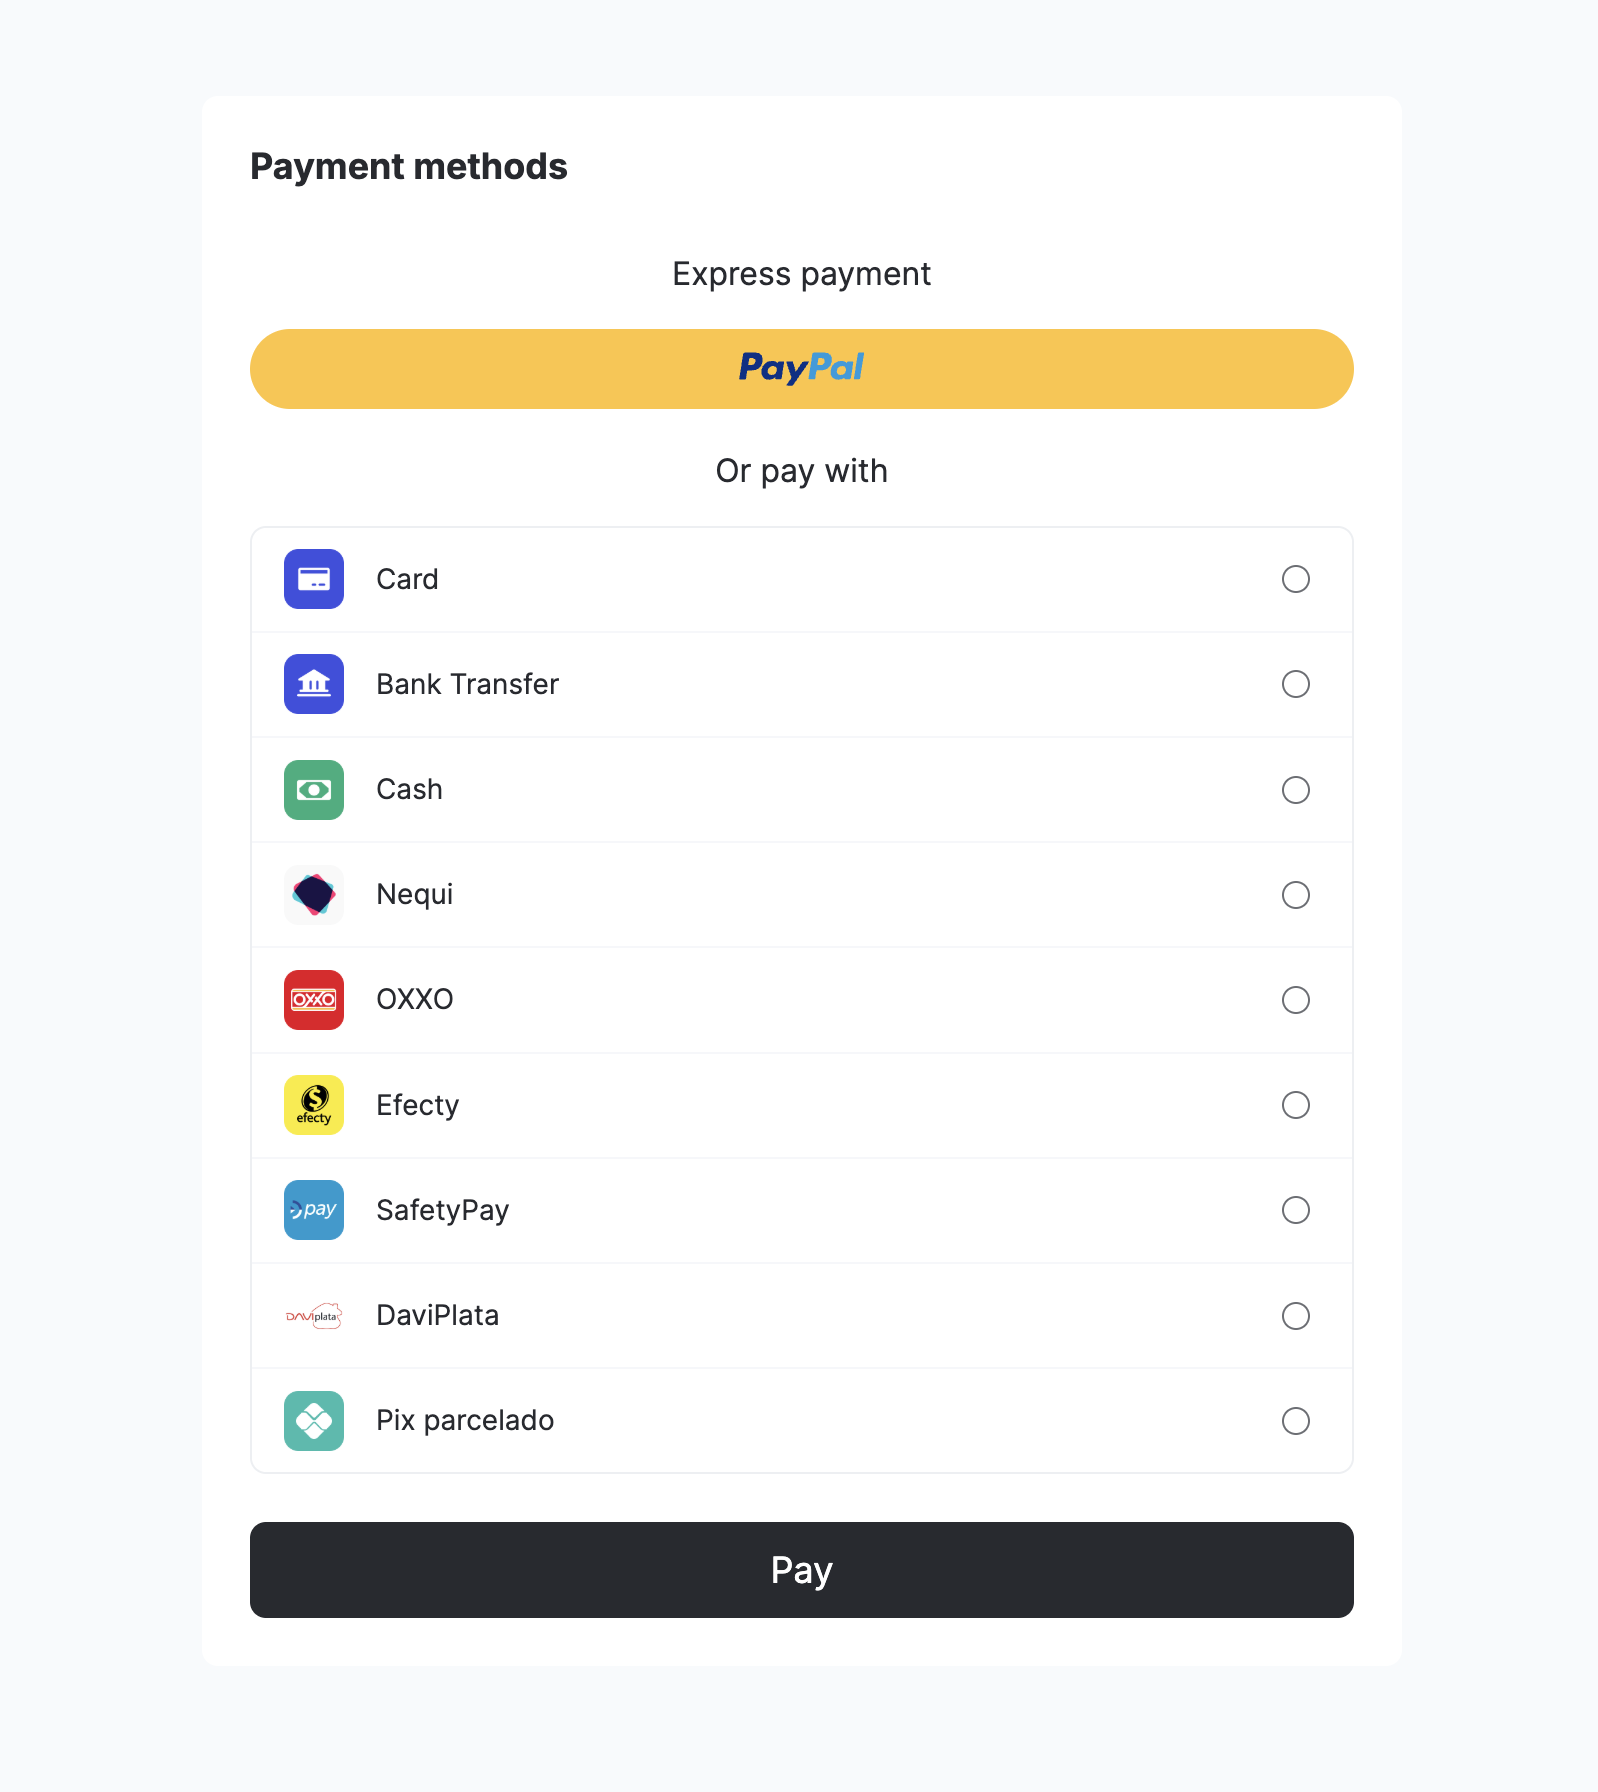
The seamless checkout and payment process is initiated with a single methodstartPaymentSeamlessLite. In the ViewController, where Yuno will be displayed, call the Yuno.startPaymentSeamlessLite() method. You can use the method with async/await or using callbacks:
Swift (async/await)
Swift (with callbacks)
PaymentMethodSelected: The vaulted token and/or the payment method the customer will use to make the payment.
SeamlessParams
SeamlessParams:
Swift 6 Concurrency RequirementsIf you’re using Swift 6, you’ll need to implement the
YunoPaymentDelegate protocol with specific concurrency considerations. See the Swift 6 Concurrency guide for detailed implementation options and best practices.Step 4: Handle payment status (Optional)
Deep Links and Mercado Pago Checkout ProThis step is only required if you’re using a payment method that relies on deep links or Mercado Pago Checkout Pro. If your payment methods don’t use deep links, you can skip this step.
AppDelegate to pass the incoming URL back to the Yuno SDK. This lets the SDK read the result and optionally display the payment status. The following code snippet shows how you can add it to your app:
callback_url during checkout session setup. If it matches, the URL is passed to the Yuno SDK using Yuno.receiveDeeplink(...). The SDK then reads the payment result and, if showStatusView is set to true, shows the appropriate status screen to the user.
Make sure the url.scheme in this code matches the callback_url you provided when creating the checkout_session.
Transaction state
After the payment is completed, the SDK can return different transaction states. The list of all possible states and their descriptions are presented in the following table:Payment status validation
This section explains how the SDK handles payment status when users cancel or leave payment flows, and how the SDK status relates to the backend payment status in these scenarios.Sync payment methods (Apple Pay)
For synchronous payment methods like Apple Pay, when a user cancels or closes the wallet UI before a payment service provider (PSP) response is received:- SDK Status: Returns
userCancell(CANCELLED_BY_USER) - Backend payment status: Remains
PENDINGuntil PSP timeout or merchant cancellation - Important: The SDK will not return
rejectorprocessingin this scenario
Async payment methods (PIX and QR-based methods)
For asynchronous payment methods like PIX, when a user closes the QR code window (clicks X) before completing the payment:- SDK Status: Returns
PENDING, optionally with a sub-status such asCLOSED_BY_USER - Backend payment status: Remains
PENDINGand the QR code remains valid until expiry - Checkout session reuse: Re-opening the same checkout session can display the same valid QR code
- No Automatic Cancellation: The PIX payment is not automatically cancelled when the user closes the QR window
Expired async payments
If a PIX QR code expires naturally:- Backend Status: Updated to
EXPIRED - SDK Status: SDK callbacks and polling endpoints return
EXPIREDconsistently
startPaymentSeamlessLite method:
- Async/Await: Use the async/await approach for a more streamlined flow. This method returns a Result asynchronously, making the code easier to read and manage.
- Callback: You can handle the transaction state via a callback function, allowing immediate execution once the result is available.
Complementary features
Yuno iOS SDK provides additional services and configurations you can use to improve customers’ experience. Use the SDK Customizations to change the SDK appearance to match your brand or to configure the loader.- Loader: Control the use of the loader through the SDK configuration options.
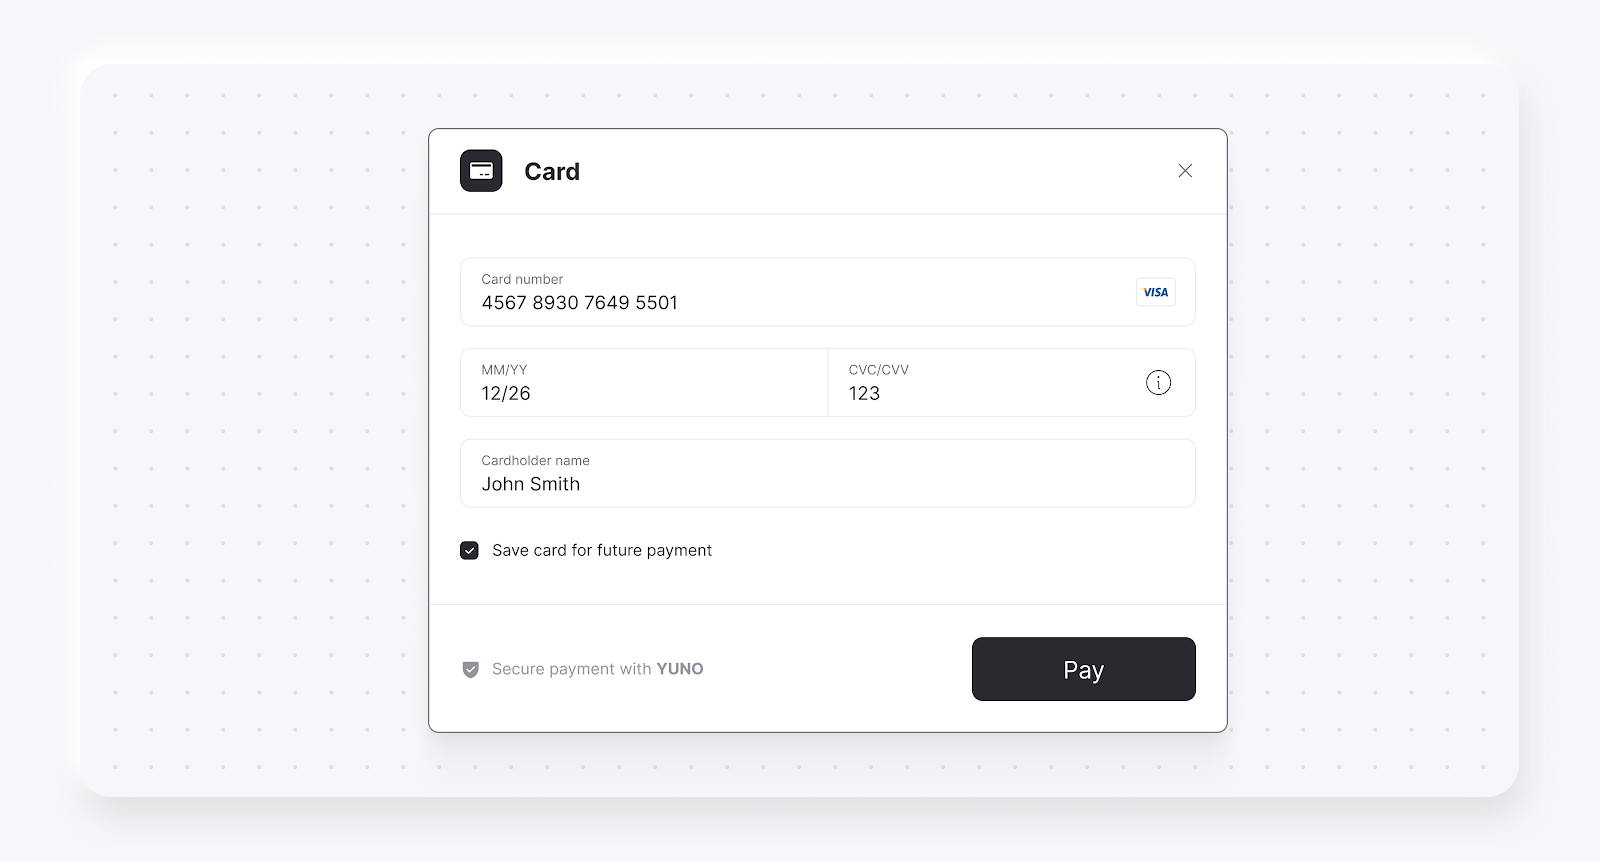
- Save card for future payments: In addition, you can display a checkbox for save or enroll cards using
cardSaveEnable: true. Below, you can find examples of the checkbox for both card form renders.