
- Want control over the payment flow while leveraging pre-built UI components
- Need to customize the payment experience while maintaining PCI compliance
- Require a balance between implementation speed and customization
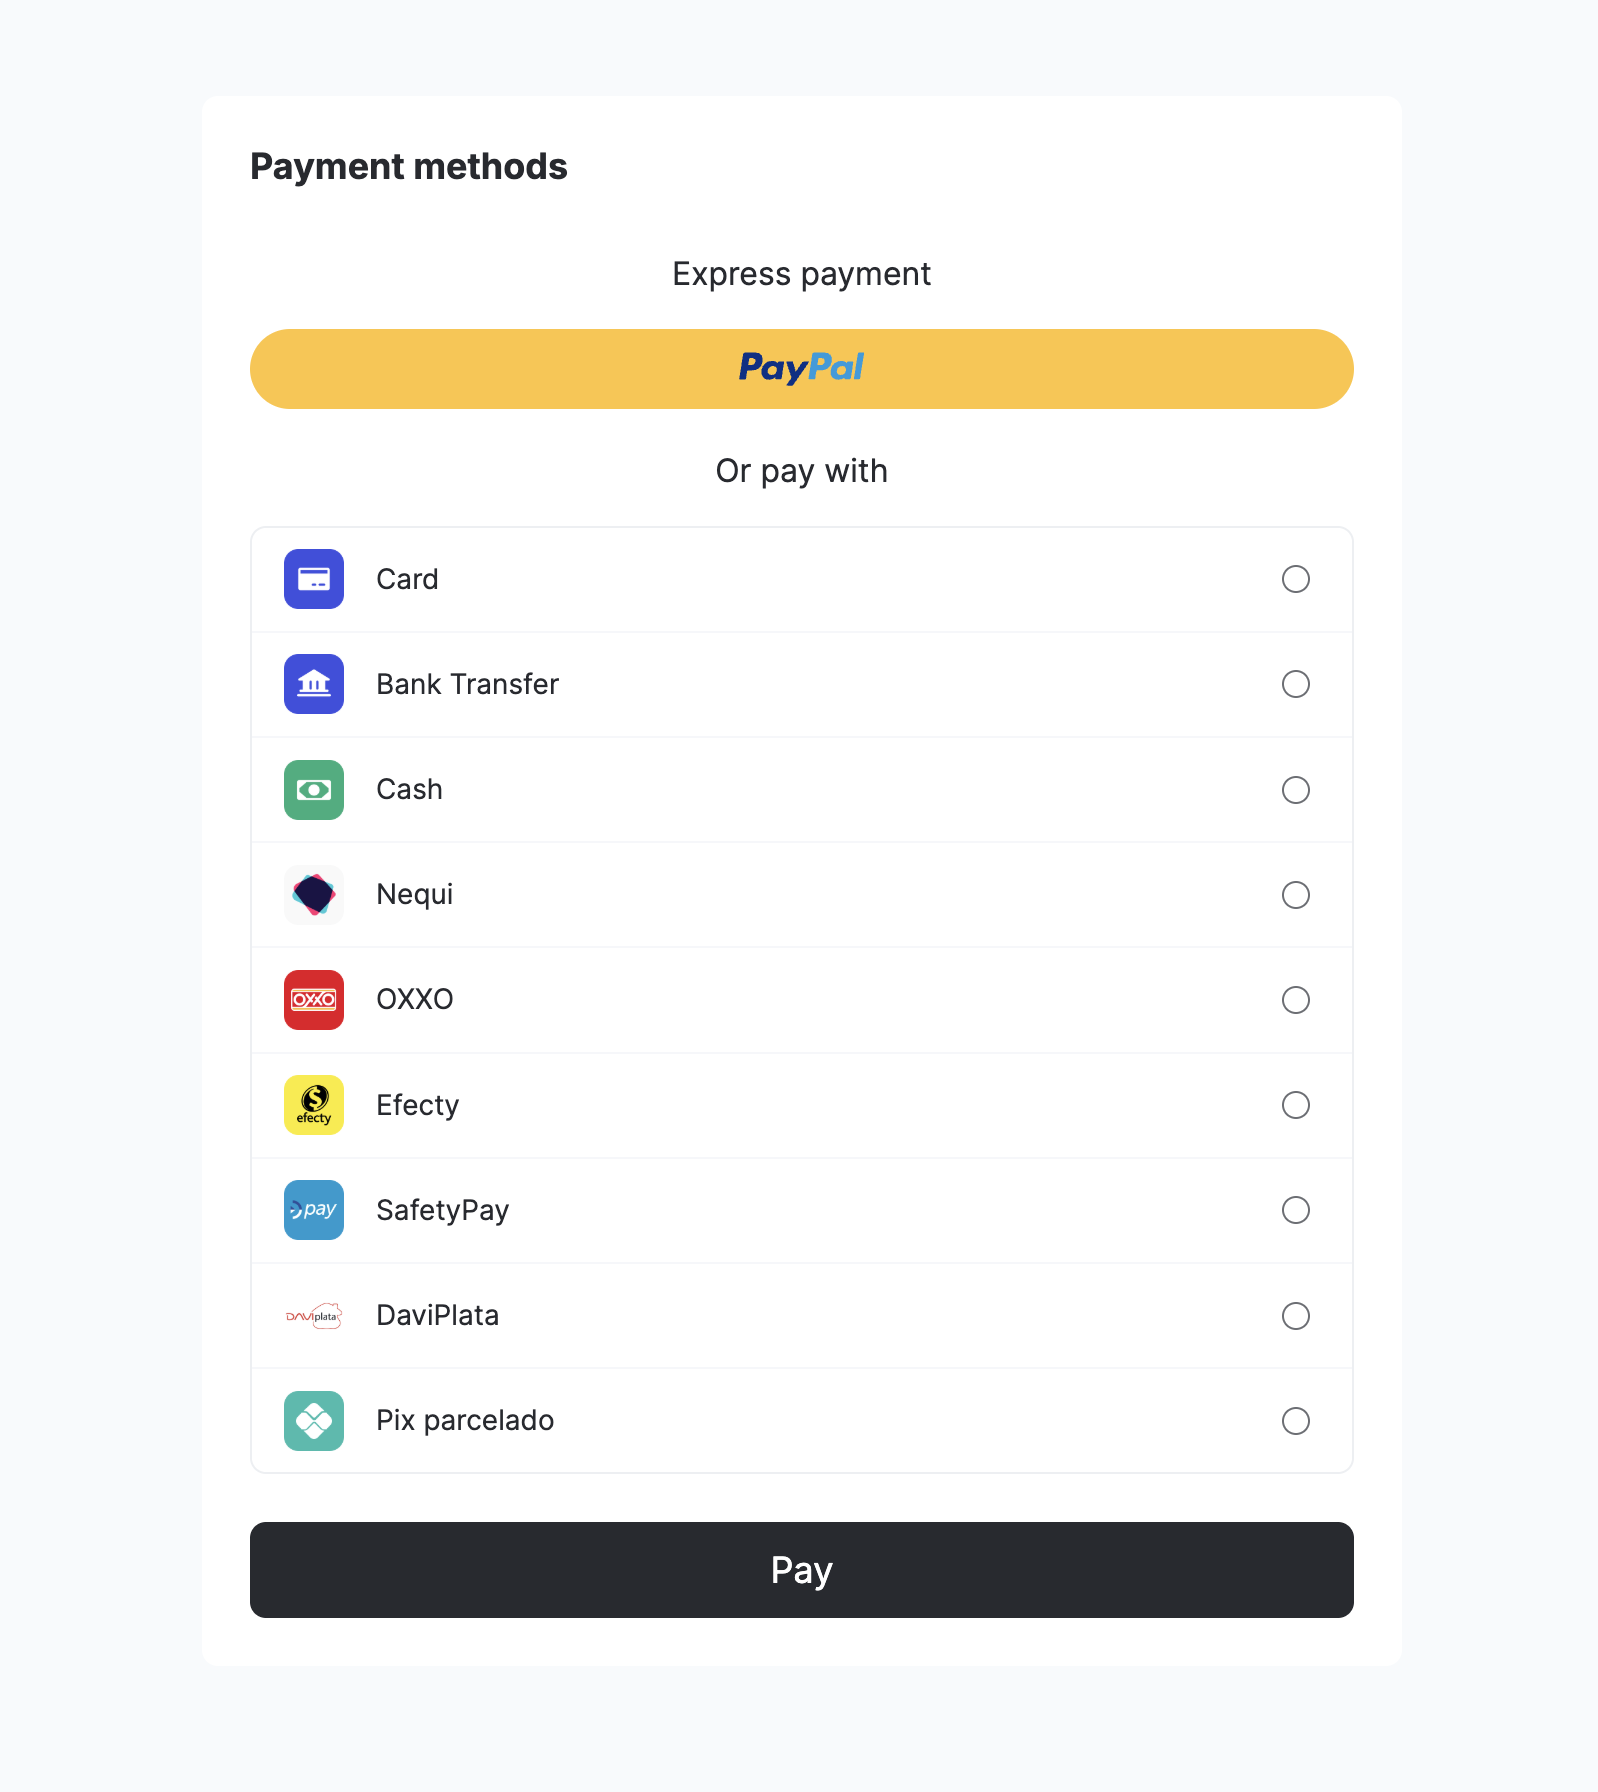
- Pre-built payment UI components with customization options
- Multiple payment method support
- Advanced payment status handling
- Comprehensive error management
Requirements
Before starting the Yuno Android SDK integration, ensure your project meets the technical requirements. Also, ensure the following prerequisites are in place:- Minimum SDK Version:
minSdkVersion21 or above - Java: Java 8 enabled
- AndroidX: Use AndroidX instead of older support libraries
- Android Gradle Plugin: 4.0.0 or above
- Kotlin Gradle Plugin: 1.4.0 or above
- ProGuard: 6.2.2 or above
ProGuard / R8 Configuration
If your project hasminifyEnabled = true, add these rules to your proguard-rules.pro file to ensure the SDK works correctly, especially with AGP 8.x+ R8 full mode.
Official Yuno ProGuard / R8 rules
Official Yuno ProGuard / R8 rules
Why are these rules necessary?
AGP 8.x+ enables R8 full mode by default, which aggressively strips generic type signatures. Without-keepattributes Signature, Gson’s TypeToken<T> can fail at runtime with java.lang.Class cannot be cast to java.lang.reflect.ParameterizedType.Verify SDK VersionSee the Release notes or the Yuno Android SDK repository to verify the current SDK version available.
Step 1: Create a customer
Create a customer using the Create customer endpoint before initiating payments. This step is required to:- Identify the person making the payment
- Enable saved card functionality (if enabled)
- Track payment history
checkout_session.
Step 2: Create a checkout session
Create a newcheckout_session using the Create checkout session endpoint to initialize the payment flow. Make sure to:
- Include the customer ID obtained from the previous step
- Store the returned
checkout_sessionID for use in Step 6 of the integration
Control auth vs capture by sending
payment_method.detail.card.capture in the checkout session: false = authorize only, true = capture immediately.Key parameters
Step 3: Add SDK to your project
Add the repository source:build.gradle file to add the Yuno SDK dependency to the application:
Step 4: Configure permissions
The Yuno SDK requires network permissions. Ensure theINTERNET permission is included in your AndroidManifest.xml:
Step 5: Initialize SDK
Retrieve your public API keys from the Yuno dashboard. If you haven’t implemented a custom application, create one. In theonCreate() method of your application class, call the initialize function (Yuno.initialize):
YunoConfig data class to set additional configurations for the SDK. The following table lists and describes the customization options:
The following code block shows an example of
YunoConfig:
Step 6: Start checkout
Call thestartCheckout method in the onCreate() function of the activity that integrates the SDK to initiate a new payment process with the Seamless SDK:
The possible payment states returned by
callbackPaymentState are:
Payment status validation
This section explains how the SDK handles payment status when users cancel or leave payment flows, and how the SDK status relates to the backend payment status in these scenarios.Sync payment methods (Google Pay)
For synchronous payment methods like Google Pay, when a user cancels or closes the wallet UI before a payment service provider (PSP) response is received:- SDK Status: Returns
CANCELED(CANCELLED_BY_USER) - Backend payment status: Remains
PENDINGuntil PSP timeout or merchant cancellation - Important: The SDK will not return
REJECTorPROCESSINGin this scenario
Async payment methods (PIX and QR-based methods)
For asynchronous payment methods like PIX, when a user closes the QR code window (clicks X) before completing the payment:- SDK Status: Returns
PROCESSING, optionally with a sub-status such asCLOSED_BY_USER - Backend payment status: Remains
PENDINGand the QR code remains valid until expiry - Checkout session reuse: Re-opening the same checkout session can display the same valid QR code
- No Automatic Cancellation: The PIX payment is not automatically cancelled when the user closes the QR window
Expired async payments
If a PIX QR code expires naturally:- Backend Status: Updated to
EXPIRED - SDK Status: SDK callbacks and polling endpoints return
EXPIREDconsistently
Step 7: Get payment one-time token (OTT)
Call the methodstartPaymentSeamlessLite to start a payment process:
You will receive the payment status via
callbackPaymentState, which will indicate whether the payment was successful or if an issue occurred.
Step 8: Create payment
Call the methodstartPaymentSeamlessLite with the selected payment method to complete the payment process:
Complementary features
Yuno Android SDK provides additional services and configurations you can use to improve customers’ experience. Use the SDK customization to change the SDK appearance to match your brand or to configure the loader.styles
With the styles customization option, you can define global visual styles through a YunoStyles object. It lets you apply consistent branding across the SDK by customizing button appearance and typography.
The
YunoButtonStyles object lets you define specific settings for button appearance:
YunoConfig data class, described in Step 5, to use the styles customization option.
Loader
The loader functionality is controlled through thekeepLoader parameter in the YunoConfig data class, which is documented inline in the SDK configuration section above.
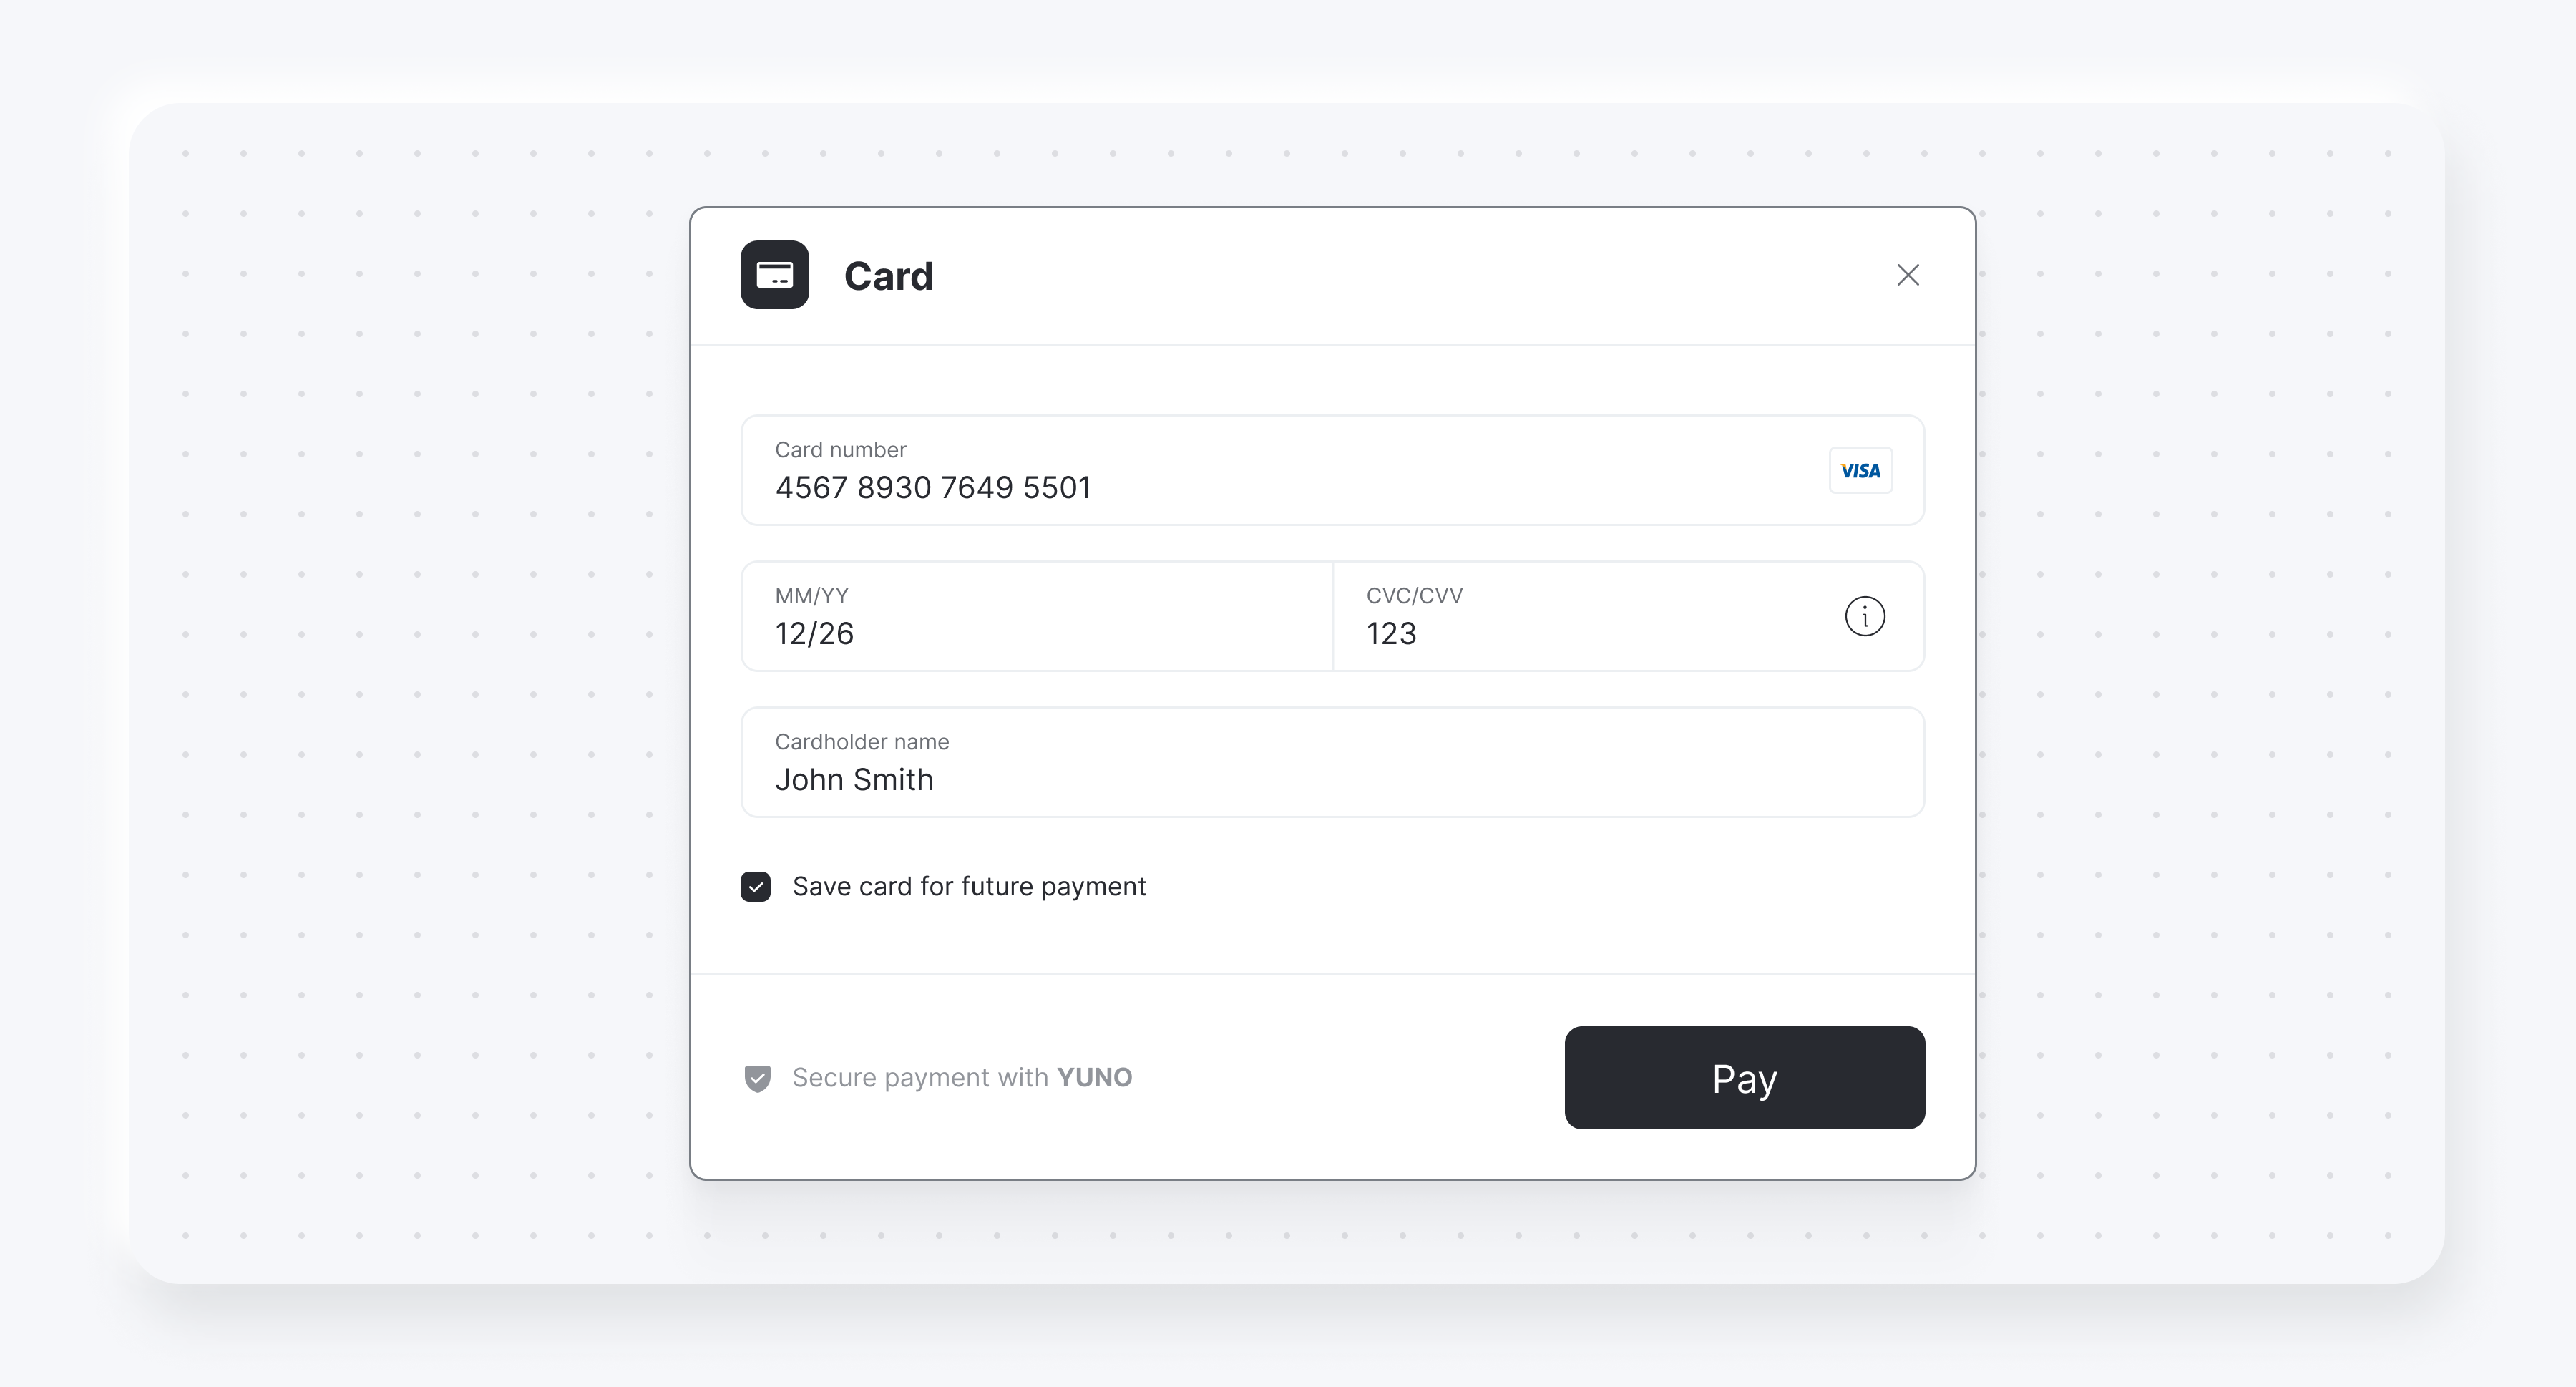
Save card for future payments
You can also display a checkbox to save or enroll cards usingcardSaveEnable: true. The following examples show the checkbox for both card form renders:
Demo App AccessIn addition to the code examples provided, you can see the Yuno repository to complete Yuno Android SDKs implementation.